Deploying Vite to GitHub Pages with a Single GitHub Action
A simple guide for deploying a Vite app to GitHub pages for free and automatic site hosting.

Recently, for a Savas hackathon, we did a quick and dirty Vite app using Chart.js, Three.js, and Vue, and we needed a deployment pipeline to showcase it efficiently. Fortunately, GitHub Pages is a wonderful way to serve static HTML, CSS, and Javascript, while Vite has a whole static deployment process to make this work.
You’ll notice that when you run vite build (or npm run build), it will build a static folder (called /dist by default) with an index.html in there. That’s what we need to deploy.
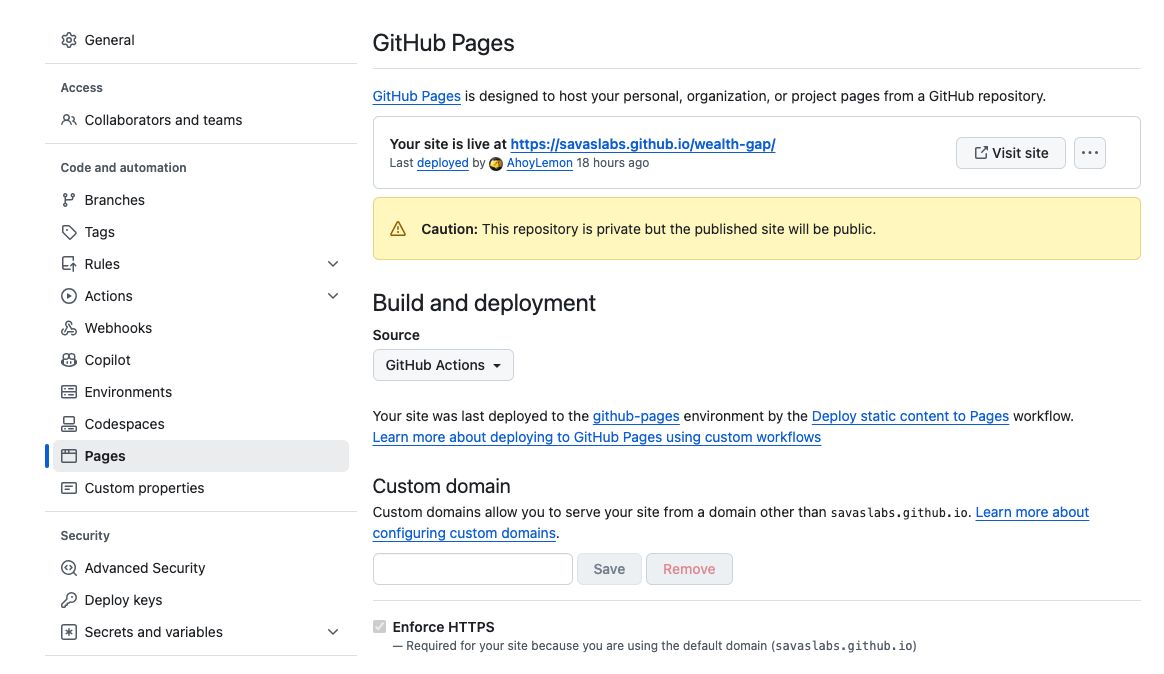
First, you’ll need to adjust the GitHub Pages settings. You’ll find that setting at https://github.com/{orgName}/{repoName}/settings/pages - Under Build and deployment, you’ll want to set the Source to GitHub Actions. We’ll set up a GitHub Action for deployment in the next step.
Next, you’ll need to create a new actions file. If you’ve never done a GitHub action before, here’s how this works: Create a new folder called /.github in the root of your project, and then another folder called workflows in there. Any yaml file there will be processed as a GitHub action, so we’ll create a new file called deploy.yml .
So, in the root of your project should be /.github/workflows/deploy.yml - the content of which will be....
What’s happening above is that the action is monitoring the main branch for a push, and then when there is a push to the main branch:
- Provision a virtual machine
- Install node, npm and the dependencies to make your project run
- Build the project and upload the corresponding dist folder as an artifact
- Use that artifact as the source of your GitHub Pages build.
AND THEN ONE MORE STEP, because by default, your corresponding GitHub Pages URL will be https://{orgName}.github.io/{repoName} and because your url is found at a slash, we’ll need to adjust our base path to call that out explicitly. This is done in vite.config.js and requires adjusting the base folder. Inside of vite.config.js you’ll find defineConfig, which may have a lot or a little in it, depending on how complicated your project is, but what you’ll need to do is add or edit the base folder to your project name. In the case of our project, we have…
// vite.config.js
export default defineConfig({
plugins: [vue()],
base: "/wealth-gap/",
});
The Vue plugin is required because this is a Vue Vite project. Note that our base has our repo name between slashes. This is so the build process will always reference that as the starting folder. You can confirm this by running npm run build and then looking at /.dist/index.html - all the references will include that path.
With your updated vite config file, and your newly created GitHub Action, you should now be able to push that to GitHub and rebuild your Vite project every time you push to the main branch. To monitor the results, visit your repo’s action page at https://github.com/{orgName}/{repoName}/actions, and you should see something like this:
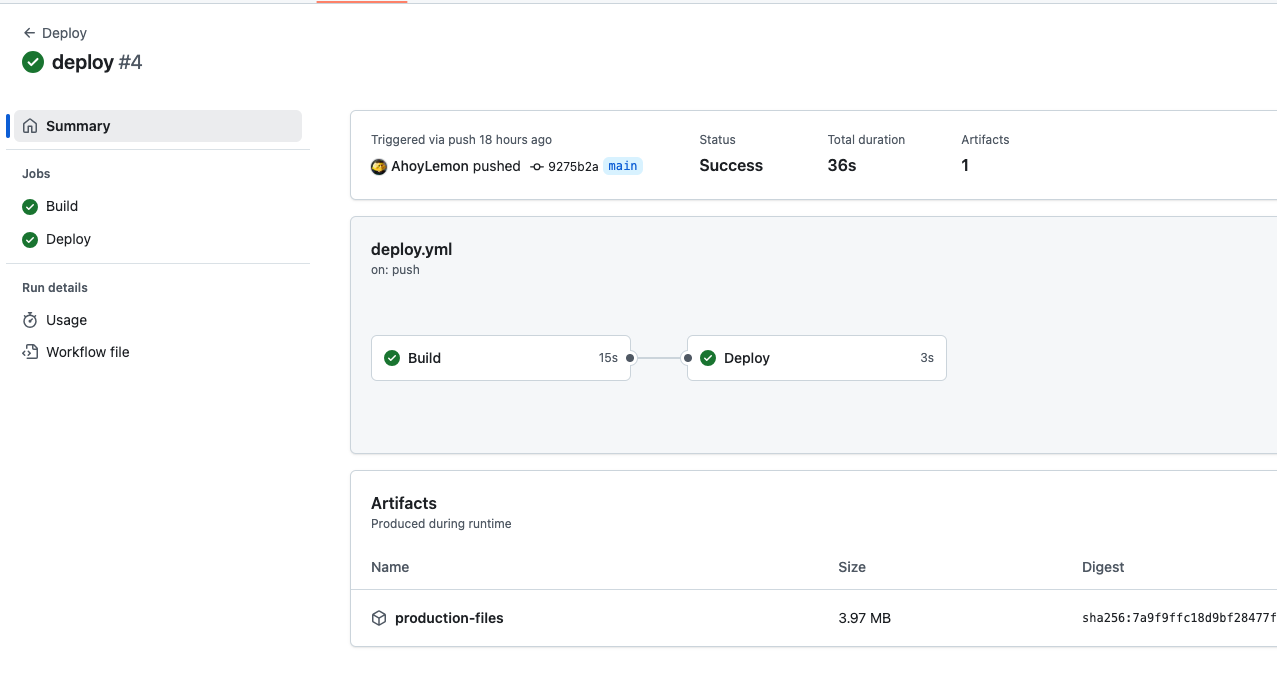
There was an action that was triggered because there was a push to main. First it ran the build steps (building the dist files), and then the deploy steps (deploying those to GitHub pages). If you see checkmarks, you’re in business.
If you’re running into some other problem, it might be worth checking out the Vite documentation.
Got another development problem that’s stumping you? Reach out to us!